 |
| Before: Shapeless and baggy |
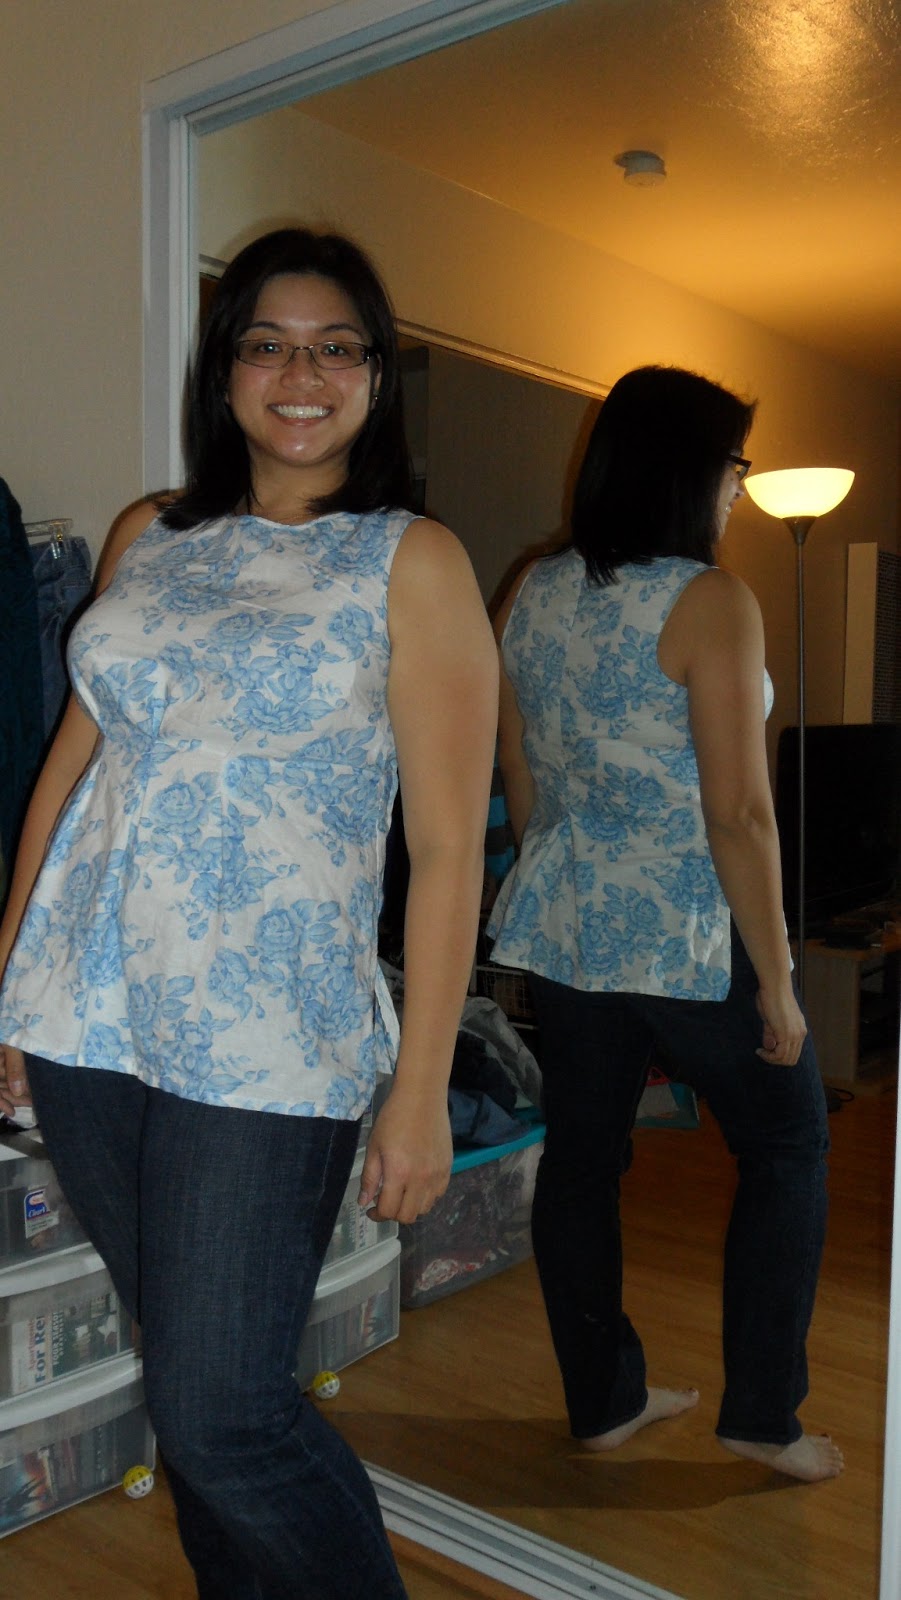 |
| After: Cinched at the waist and a flare in the back |
Well boys and girls (mainly girls), I've gone and done it again. Another refashion! This time I chose a tank that was more fitted to my body (aka I bought it in the women's section this time). I was immediately drawn towards the vividness of this vintage print. It's made of a linen blend and I've always wanted a fitted linen shirt. I got this at the Salvation Army's 50% off sale (expect to see most of my materials from there). I, of course, made sure that it could fit the largest of my womanly dimensions (bust and hips) before I purchased it.
My thoughts on linen...
Linen is expensive to purchase at fabric stores (around $10/yd, wowza) and most retail shirts don't fit me well. It's not a very stretchy material, so the clothing has to be cut just right for it to fit anyone correctly. It's a thin and lightweight material but can be on the scratchy side. Now that I've given it some thought, why would anyone pay so much for it??? Haha, all kidding aside, linen shirts and pants have a crispness to them that makes them look structured. I've noticed that most linen shirts are usually cut with extra room. Take a look below.

 |
| I got all of these from Pinterest. I have no clue where they came from. |
One more note before we begin....
I was enamored with the idea of making pleats in my shirt. However, I lacked the foresight to see that I would need something to cover up the pleat stitch. For those who would like to know more about making pleats, you should watch this video. Anyways, I didn't have enough material to make a sash, so I removed the pleats and started over again. Note: pleats are best used when you can cover up the pleat stitch (skirts, pillows, etc), not for the middle of a shirt. Ok, let's begin!
Tailoring a linen shirt
- The bust already fit me, and there was already a bust dart on the side so I didn't do anything to that area. Same with the shoulders and arm holes.
- As I mentioned earlier, I tried to cinch the waist by adding pleats, which didn't work. I kept the material gathered in the same place, but sewed dart on the inside (Basically a straight line).
- Placement of darts
I don't know if anyone else does this, but I usually mark on the shirt where my waist is, and where my bust begins. That might mean making 2 "nipple marks". Haha, it's awkward to explain, but I think it's necessary.
 |
| 3 darts along the waist. |


- Next is taking in the material in the back. I wanted to create a giant dart in the back. While I was wearing the shirt, I pinched the extra material on the back and secured it with a clip. Then I inverted the fold of material and sewed a dart.
- Apologies if you can't see the creases of fabric. I don't own an iron, so the folds aren't crisp.
- I had a lot of extra material on the upper back and the neck hole so I did the same thing. I pinched the extra material at the neck hole, took off the shirt and inverted the fold. Then I drew a line from the pinch at the neck hole, down to the top of my dart. Sew along the line.


There DONE!!!!

I hope you guys enjoyed this tutorial. I can't wait for the weather to warm up so that I can wear this for you guys. Thanks to those that commented on my earlier postings. I'm glad to know that people are actually reading the stuff that I put here. Yay! Let's get crafty!
No comments:
Post a Comment